Making a great video isn’t easy. Out of billions of marketing videos, only a few truly hit the mark. The secret? Planning—and not just your script. A good storyboard lets you see your video before you shoot it, tweak ideas, and create a final version that really works. This guide shows you how to make a storyboard the easy way—you can even start before your script, making the whole video process smoother and more creative.
First, let’s start with the basic question.
What Is a Video Storyboard?
A video storyboard is a visual plan for a video that outlines each scene or shot in sequence. It combines sketches, images, or frames with notes about actions, dialogue, camera angles, and transitions. Essentially, it’s a blueprint that helps filmmakers, marketers, and creators visualize the story, organize the flow, and communicate their vision to the team before filming begins.
How to Make a Storyboard for a Video in 5 Steps
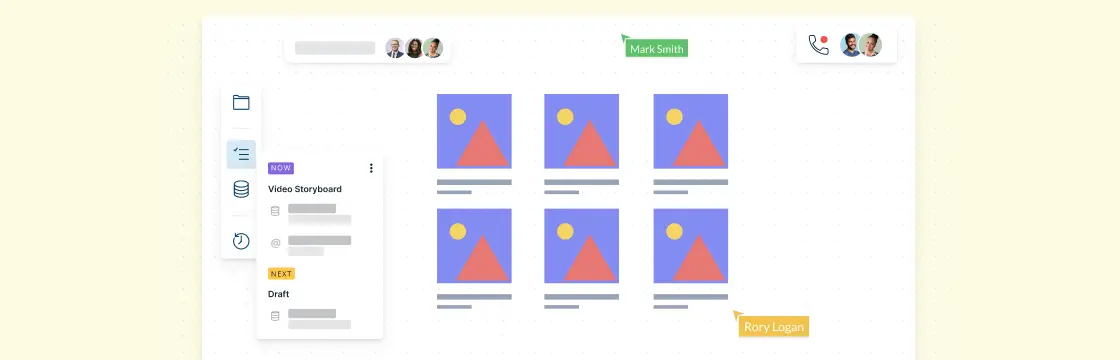
Creating a video can feel overwhelming, but a storyboard makes it simple. It helps you visualize every scene, spot potential issues early, and share your vision with your team before filming a single frame. With Creately, you can quickly drag and drop shapes, link scenes, and use ready-made templates to plan your video effortlessly—even if you’re not an artist.
Step 1: Plan your video
Before you put pen to paper—or start dragging shapes in a storyboard—clarify the basics:
Objective: What’s the goal of your video? Promote your brand, explain a product, drive YouTube subscriptions, or boost engagement? Knowing this upfront makes every other step easier.
Key message: Your visuals need strong words. Decide on a clear, concise message that fits your brand and resonates with your audience. Tone and language matter.
Video length: Keep it short and sweet—under 3 minutes is ideal for most platforms. Make sure your key message fits naturally within your timeframe.
Promotional channels: Where will this video live? Social media, your website, or a video platform? The channel influences style, pacing, and format.
Step 2: Visualize your script
Now, start thinking about how your story will look on screen:
Identify key characters or props
Decide when and where each appears
Define the theme and setting
Map out the sequence of scenes
Tip: With Creately, you can easily link storyboard frames and drag-and-drop elements to quickly see how the story flows. You don’t need to be an artist—stick figures or simple shapes work fine, and Creately templates make it even faster.
Step 3: Add script and notes
Under each storyboard frame, jot down:
What’s happening in the scene
Any dialogue or voiceover
Camera angles, transitions, or special effects
This ensures everyone on your team knows exactly what’s intended for each shot.
Step 4: Collaborate with your team
Storyboards are a team sport. Share your work, get feedback, and make revisions. With Creately’s real-time collaboration, your team can comment, suggest changes, and help polish the video storyboard before production.
Step 5: Refine and finalize
Once your storyboard captures your vision, review it end-to-end. Make tweaks, check pacing, and ensure the message is clear. By the time you start filming, you’ll have a visual blueprint that saves time, reduces mistakes, and keeps your video on track.
Free Video Storyboard Templates
Now that you know how to create a storyboard for a video, here are some video storyboard templates to get started. Click on each example of storyboard for video to edit them online. You can create each video shot using comprehensive Creately shape libraries or using images imported from your computer or browsed through the built-in Google image search.
Once created, you can export the video storyboard template as an image, SVG or as a PDF file for printing.
A blank video storyboard template


Video storyboard template with images

Storyboard template

Prototype Storyboard

Cinema Storyboard Template

Common Mistakes to Avoid When Creating a Storyboard
Lack of Clarity
Make sure your storyboard expresses each shot’s intended narrative and visual components in a straightforward manner. Do not assume that everyone will comprehend your goals or be overly ambiguous. To effectively communicate your thoughts, use labels, annotations, and sketches that are clear.
Overcomplicating Shots
It is good to be unique but make sure you avoid constructing photos that are extremely intricate or challenging to execute. Think about the tools, time, and funds you have at your disposal. To minimize disappointment during production, limit your shooting to what is feasible given your constraints.
Ignoring Pacing and time
When creating storyboards, it’s important to take into account the video’s pacing and time in addition to the visuals. Make sure the images’ flow and rhythm fit the intended atmosphere and message by paying close attention to these elements. This includes figuring out how long each shot should be and how to transition between them.
Neglecting Shot Continuity
To provide a seamless viewing experience, keep your shots consistent. Consider variables like actor positioning in different shots, lighting, camera angles, and props. Consistency issues might detract from your video’s overall quality and be annoying.
Forgetting the Audience’s Point of View
When developing the storyboard, keep your target audience in mind. Consider how they will view and understand the images. Take into account your audience’s comprehension, cultural background, and preferences. This will assist you in developing a storyboard that appeals to your audience and clearly conveys your point.